I may eat a caravan of sushi on the regular, and I may have spectacularly attempted to read every book about the subject, but making the stuff myself? A different story. I’ve done it a few times to mixed results, but no one’s going to confuse me for an expert (or even an intermediate). But a few months ago, a once-in-a-century pandemic surfaced. Perhaps you’ve heard of it. It made eating sushi far more challenging, and so I was faced with two choices: abandon my addiction and all of the millions (slash thousands) of readers or dust off my rice vinegar and try not to embarrass myself. I chose the latter (you’re welcome), and asked my wife to join because it’s always better to crash and burn with someone else (and she’s objectively awesome). Slash we both had a ton of time on our hands during quarantine.
Before we start, an important caveat: this blog is entirely from the perspective of a novice. If you’re looking to become a superstar Itamae, pick up a sushi book, hop on a plane to Japan and go train for years under an expert. As Wags said on Billions, people spend 10 years just learning how to make the Tamago (The egg. The egg!). This ain’t that.
Now, to quote Law and Order, these are my stories. Dun-dun.
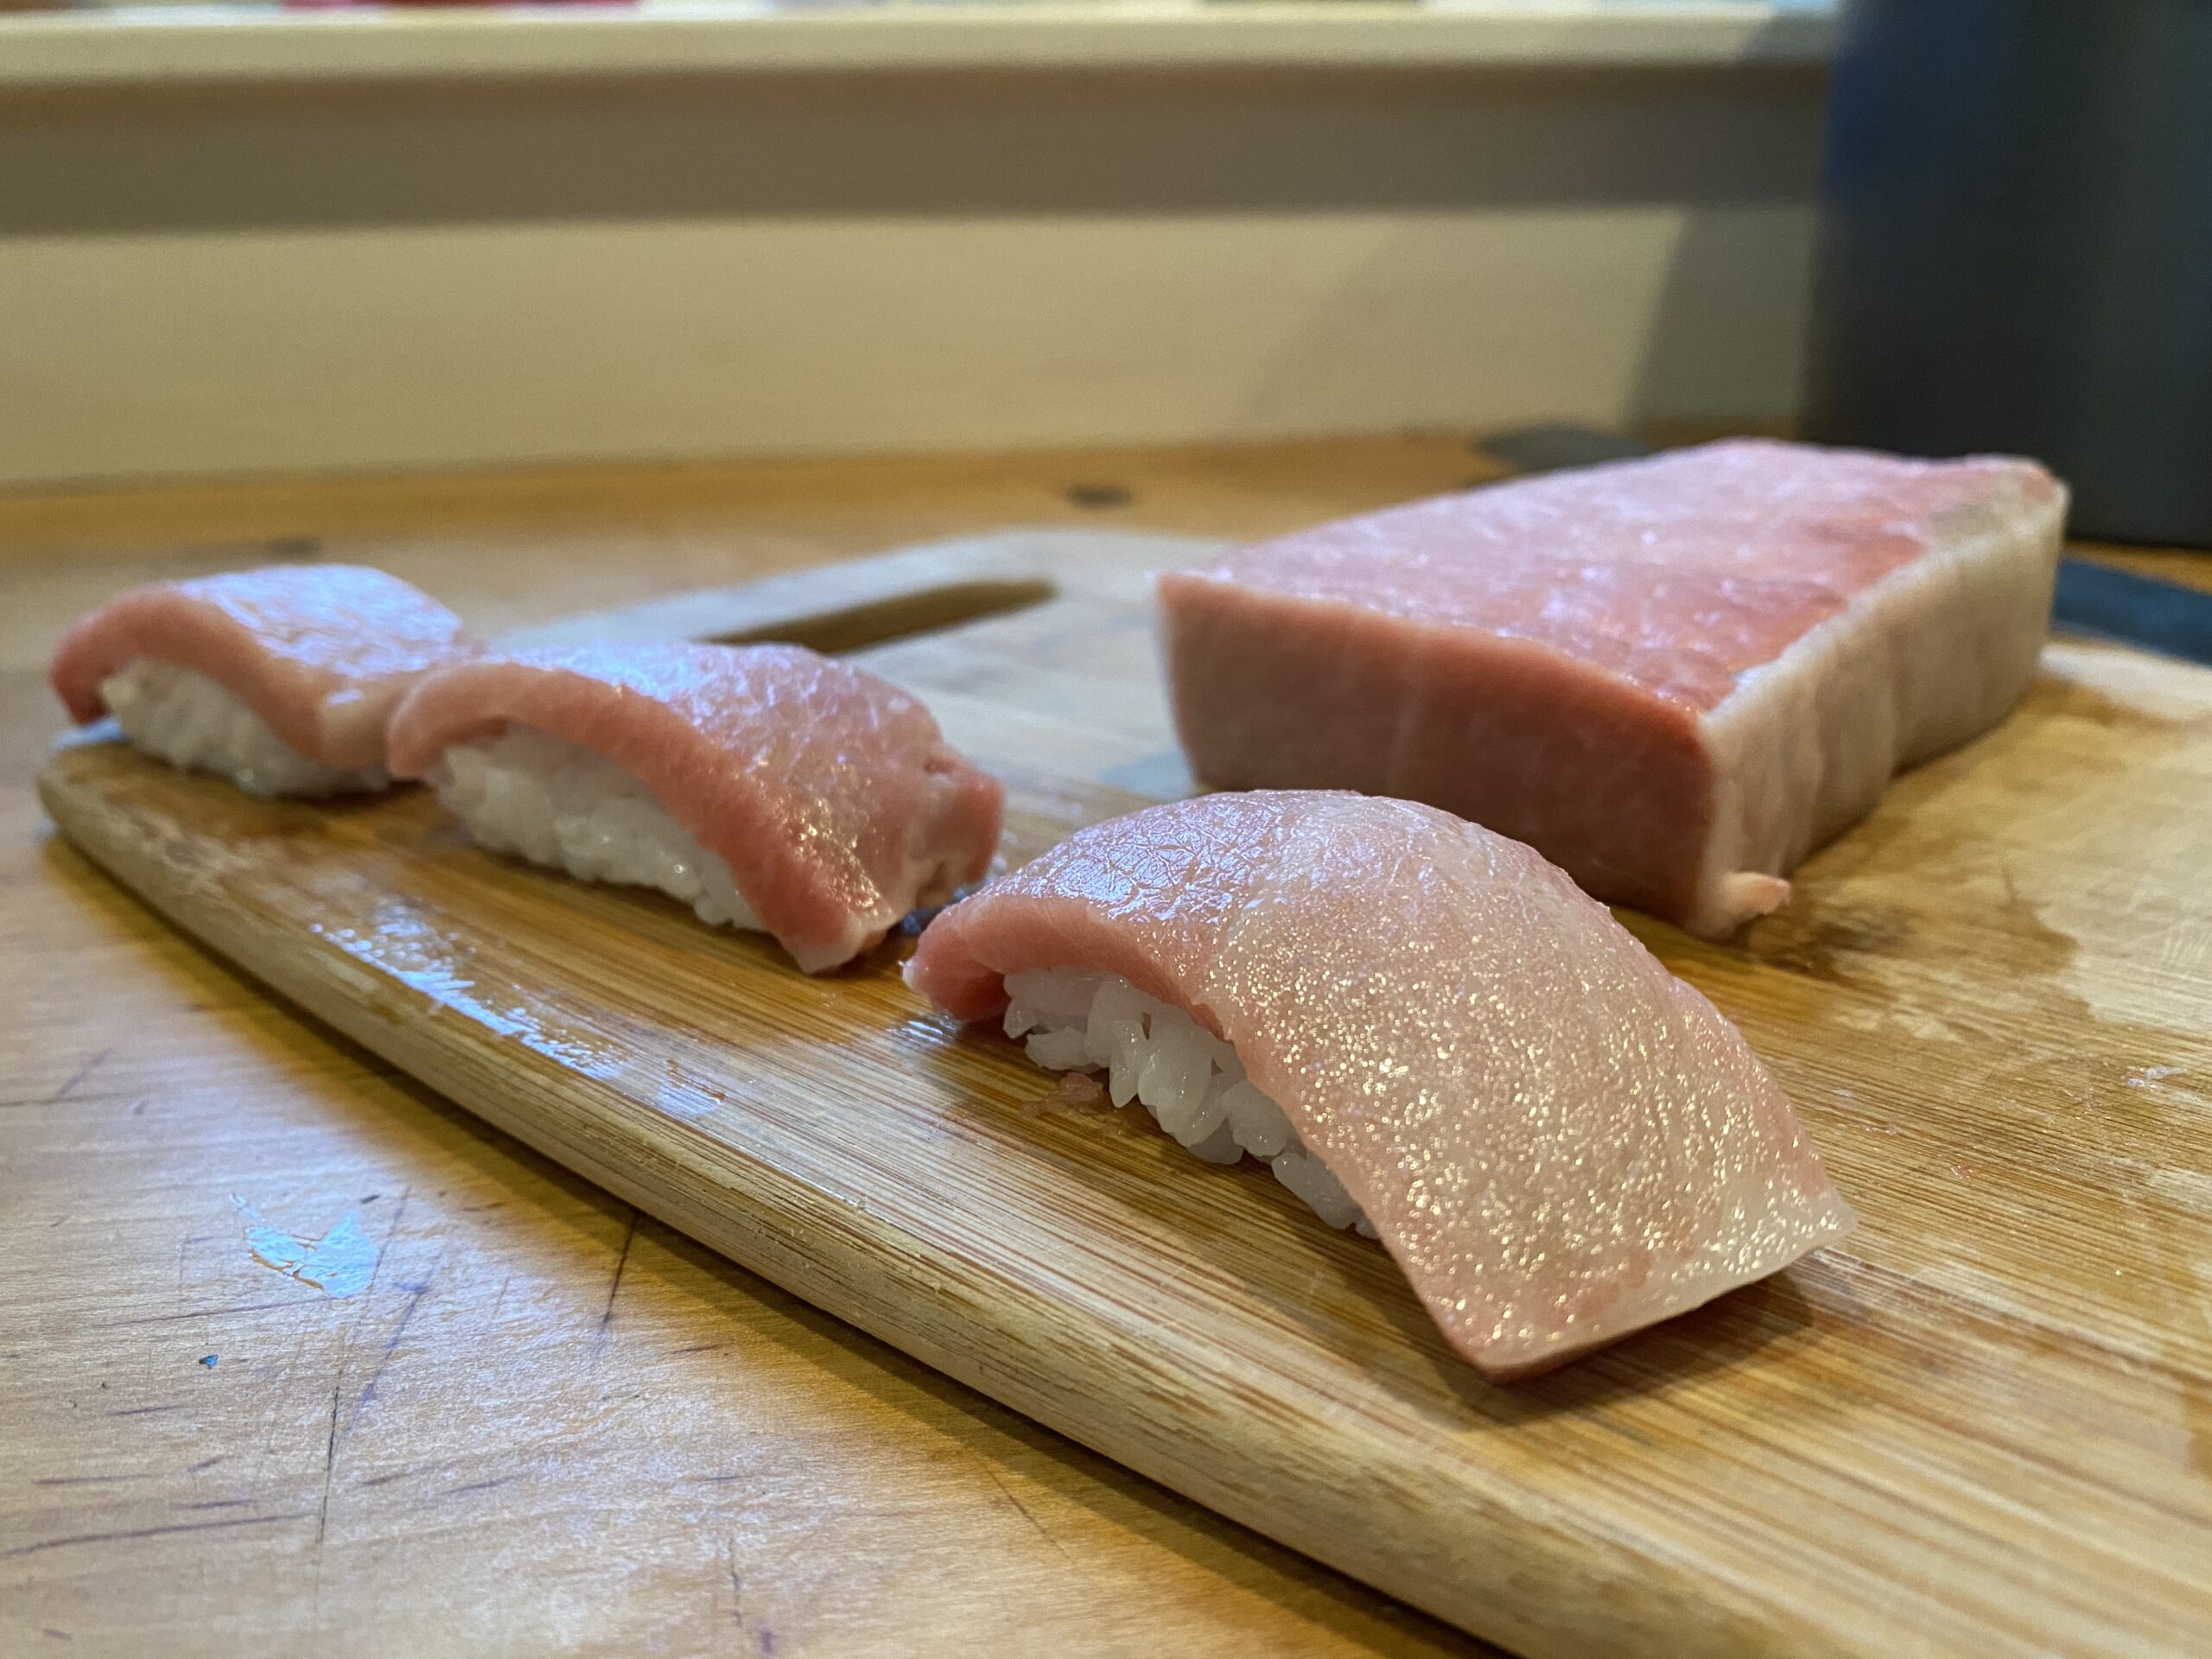
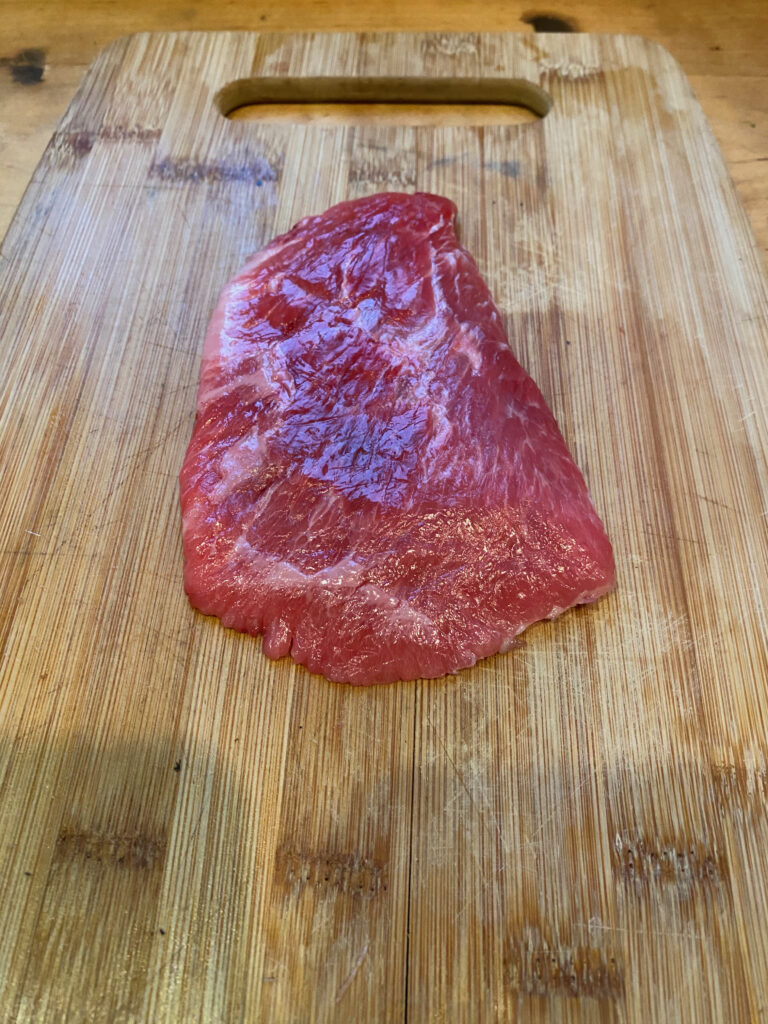
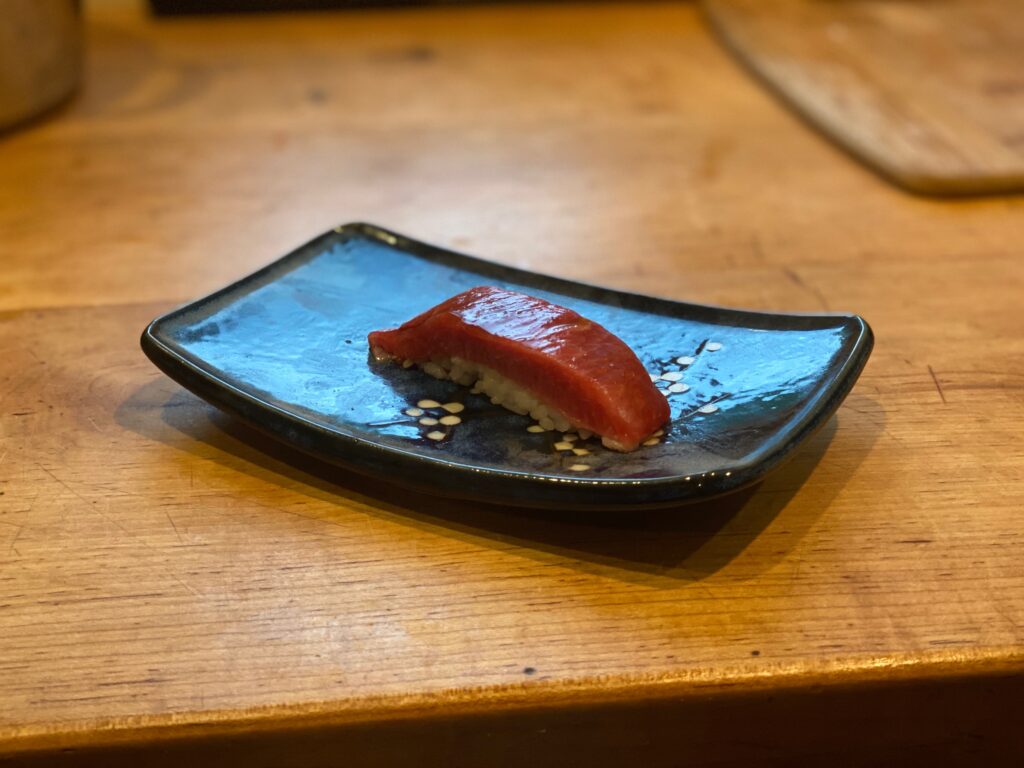
The slab of O-Toro and the nigiri we made
THE RICE
The key to good sushi always has been, and always will be, the rice. Making sushi rice doesn’t require a lot of ingredients, but it does require time and patience. Why? Part of the reason is that learning any discipline isn’t easy. Duh. But there’s another aspect, centered around the artistry of the entire endeavor. Like a fine fingerpainting, it will take you time to find your own voice. There are recipes, sure, but most people will tweak the measurements to meet their taste. Unless you’re some savant, it’s unlikely you’ll settle on your preferred mix on take 1. For instance, check out the directions from Nishiki, a commonly available, store-brand option, below:
The directions are clear: Mix 1/3 cup of rice vinegar into 1.5 cups of cooked rice, stir, and leave until it reaches room temperature. The result? A mess clumpier than the dough used for biscotti (which itself is the devil’s pastry). The solution we’ve learned from a few rounds of trial and error is that every 15 minutes, we add a dash of rice vinegar and stir vigorously. It requires more TLC, but again, it’s the rice. Sushi is nothing without it.
With a lack of reasonable supply options at our hut in the middle of the wilderness and Amazon delivery taking until 2021, we used Medium Grain Rice from the aforementioned Nishiki, a commonly available brand. In reality though, the best quality sushi comes from short-grain, Japanese rice, which runs more expensive.
Another tip: as you find your own sweet spot, you may also want to consider adding sugar and/or salt, like Kimiko Barber recommends in her seminal sushi book “Sushi: taste and technique”. Whatever you decide, make sure to cook, taste, adjust, rinse, repeat.
View from the Andaz Tokyo Pool Area - located within the spa the 38th floor
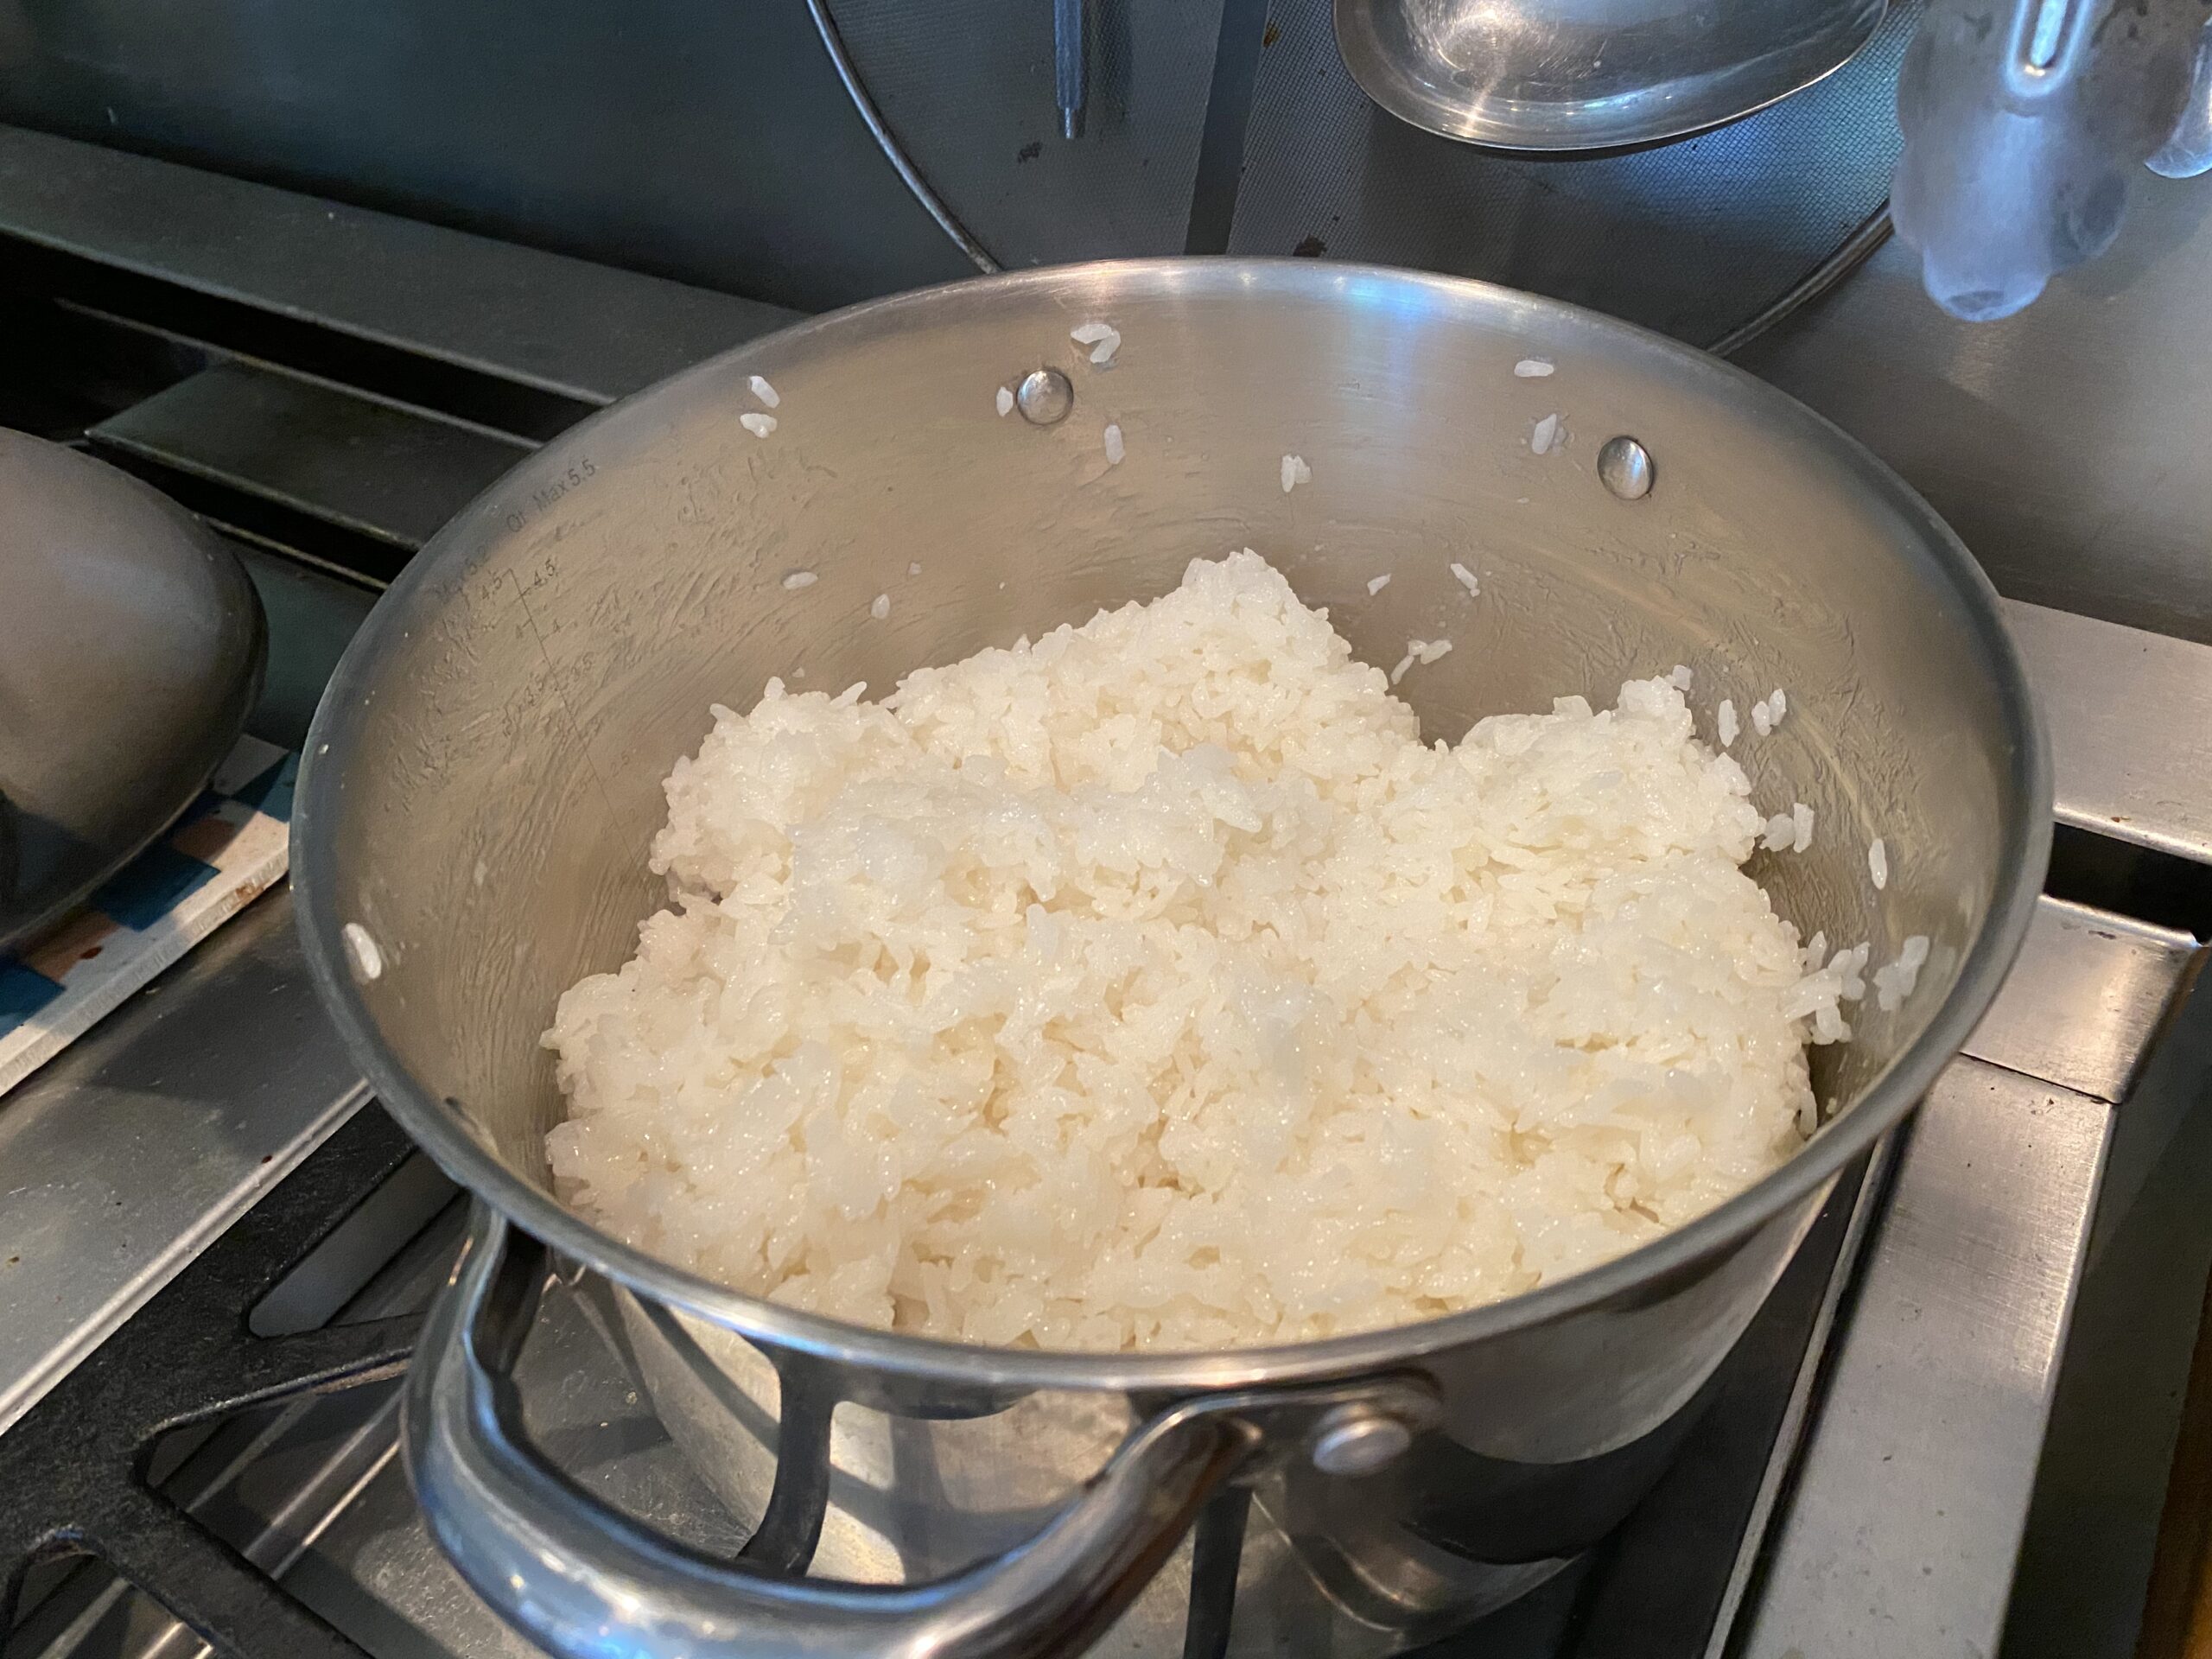
We cooked and cooled our rice in the same pot, which isn’t exactly ideal. Pros – and most serious amateurs – will use something called a Hangiri, or a wooden tub, to cool the rice. They’re not expensive but procuring one was a challenge. If you’re curious, the drawbacks to the pot we used are its material (metal), which retains heat, and the width (or lack thereof), which makes stirring difficult and disbursing rice vinegar evenly almost impossible. Pro-tip: maybe save the arms workout for another day because stirring isn’t nothing.
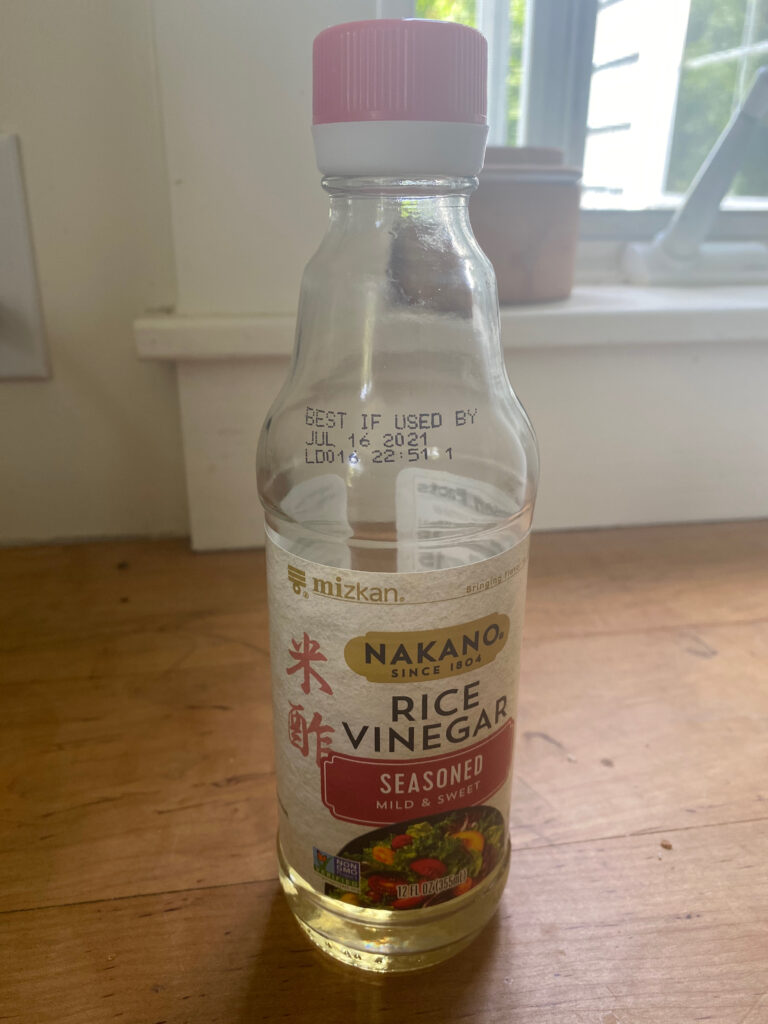
About that rice vinegar: we used a generic, readily available brand (are you sensing a pattern), but – like rice – there are many wonderful other options that are a bit pricier. One of those options isn’t a brand but a type – Akazu, or a red rice vinegar – used in original Edomae-style sushi centuries ago.
Our store-bought rice vinegar
As the rice cools, make sure it’s covered and, for fuck’s sake, don’t ever put it in the refrigerator; not in prep, not after you eat, not when the four horsemen of the apocalypse come, never (a freezer is a different story). Frequently stir, separate, add rice vinegar, and watch your creation blossom like the flavour tulip that it is.
THE FISH & SHELLFISH
The other part of the sushi equation is the Neta/Tane, or what we planned to pair with our rice. There’s a lot of misinformation out there about buying and eating raw fish. For example, have you heard of the term “sushi grade”? Completely made up. It’s a euphemism for fish that can be eaten raw, but it’s not like there’s a Wizard of Oz certifying it or any agreed upon standard for what that term actually means.
Of course there’s always a certain degree of risk with eating raw food (not just fish), but using reputable wholesalers and not leaving your fish in the hot sun for a few hours are steps in the right direction (you’d be surprised). Probably should avoid Sockeye Salmon too if we’re being honest. Legal disclaimer: I’m not a food scientist, just a dummy with only one suspected case of food poisoning under his belt (shout-out San Francisco).
Bathroom in a room at the Amanemu
Fortunately, just as I was figuring out how I was going to get decent ingredients in the middle of The Walking Dead, Yama Seafood (in Jersey City, NJ) appeared in my Instagram timeline like, um, a swarm of zombies on the horizon (work with me here). Instagram is mostly a complete disaster these days between the fake giveaways and beauty tutorials (h/t my wife for that take) but it sometimes can be useful, as it was here (ps: follow me @thesushilegend).
Yama is a family run business that normally supplies restaurants. Not many of those open right now, so they’ve pivoted to amateurs like yours truly. The result is quality, unique options, from premium locations (like Toyosu Market in Tokyo), at reasonable prices. Here’s what I ordered:
Maguro (Tuna): 1.5lb of Noten (Head) and Hono Niku (Cheek)
Maguro (Tuna): 0.78 lb of O Toro from the Mediterranean
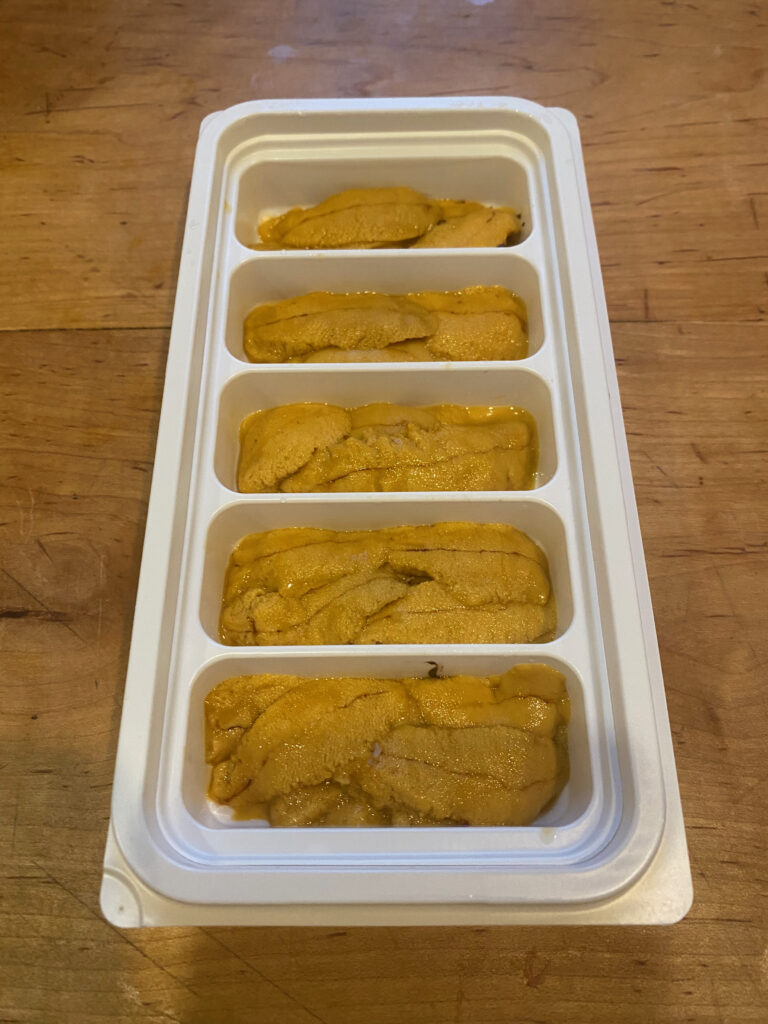
Uni (Sea Urchin): 100g of “b” grade from Nova Scotia
Prices vary depending on where the Tuna is from, but you’re likely looking at $80-$90/lb for the fattiest cuts of Tuna; pretty reasonable considering we made about 3 days worth of sushi from our order. And yet, still no mercury poisoning. Astounding.
"B" grade Uni from Nova Scotia
Wrapping our Otoro for defrosting/aging
Word to the wise: some cuts, like our O Toro, come superfrozen. To defrost, we wrapped it in paper towel, placed inside in a dish, covered the dish with plastic wrap, and let it sit in the refrigerator for 24 hours (see above). That will defrost it, but it may not optimize the taste. That’s biggest one of the biggest misnomers about fish is that the fresher it is, the better it tastes. Not true.
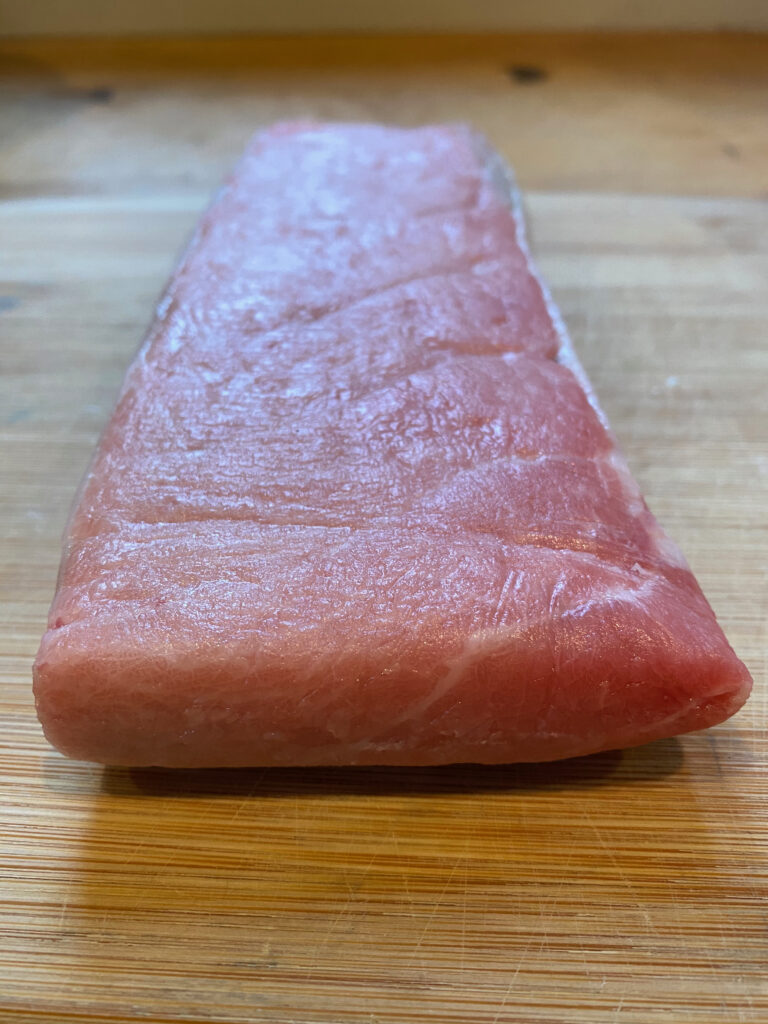
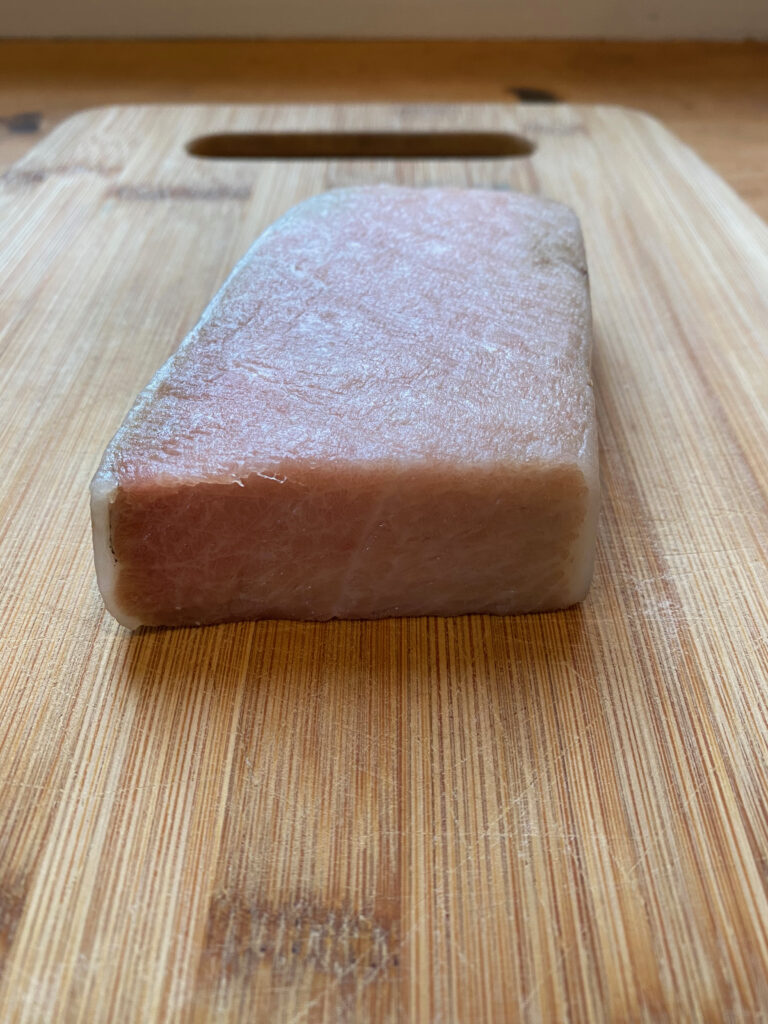
Smart chefs experiment with aging all the time – it’s actually a tenant of the original Edomae-style sushi – and so it was no surprise that our decadent O Toro tasted better after 48 hours than it did after 24. Pictures below.
O-toro 24 hours after defrosting
O-toro 48 hours after defrosting
MAKING NIGIRI
Making nigiri may look basic, but like much of sushi, what appears simple is in reality very complex. Before starting, prepare a solution of water and rice vinegar called tezu to coat your hands. If you’re like me and my wife, grain-stick is real. This helps, and as a bonus, will apparently reduce potential contamination.
Forming the rice into a small, compact ball is the next – and probably most crucial – step. A lot of people think that the rice shape is made into a oval first, but in reality, the shape first starts closer to a sphere, and then is formed with the Neta into the nigiri you love. Doing so keeps the rice packed tightly and helps the shape flow.
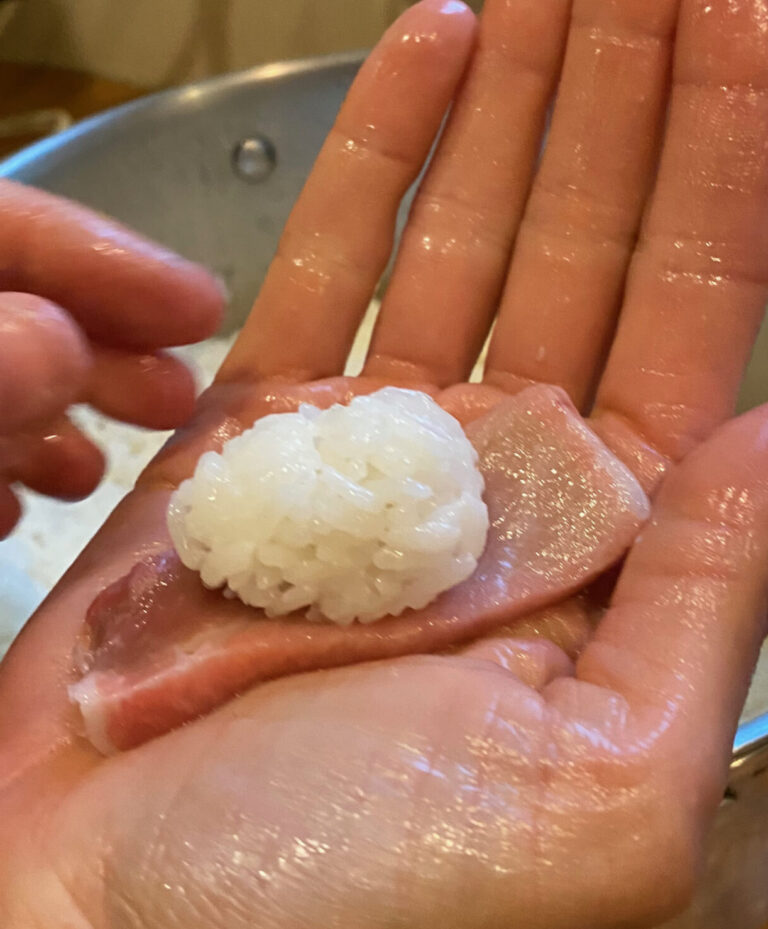
A helpful hint for forming the nigiri is to first lay the piece of cut fish across your fingers or palm (see below), and then place the rice ball on top. Cup your hand around the nigiri like a wall, and bring your other hand to start pinching (and flattening) the rice and fish together. Gently flip and pinch on the sides to structure the shape. You will fail at this your first few times.
My superstar wife x O-toro
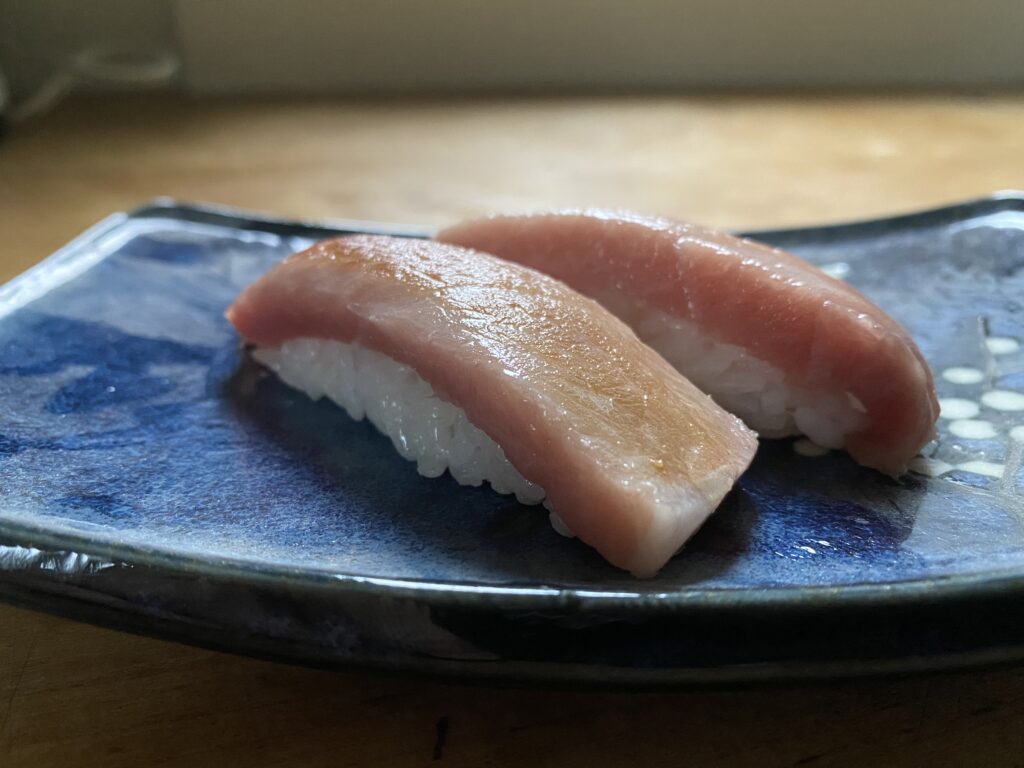
O-toro nigiri
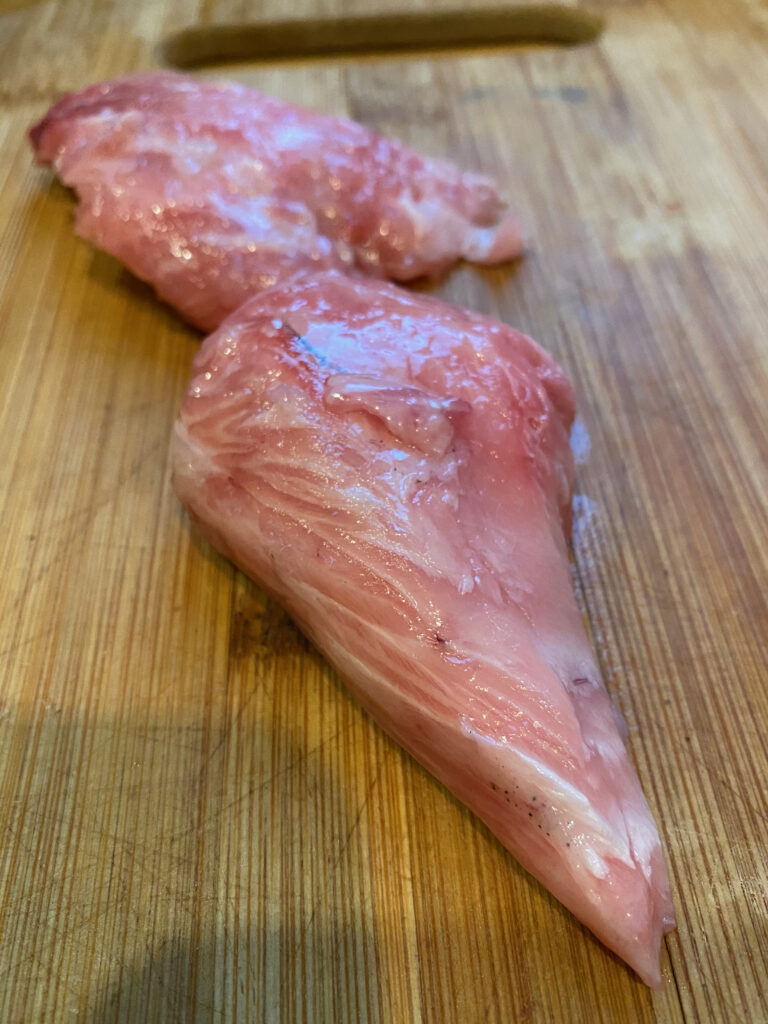
Word to the wise – not every cut of fish you buy is going to be a perfectly formed rectangle like the O-Toro above. Case in point: the Noten (head) cut bottom left, and the Hono Niku (Cheek) cut in the bottom right. That’s not to say it’s impossible – a good knife plus an oily fish make slicing a filet much easier – but just keep that little nugget in the back of your mind. Or get a 20 foot knife and dominate the Hono Niku like we did in the picture below.
Collection of images from sushi at Tenjimbashisuji
Hono Niku nigiri
MAKIZUSHI + CHIRASHIZUSHI
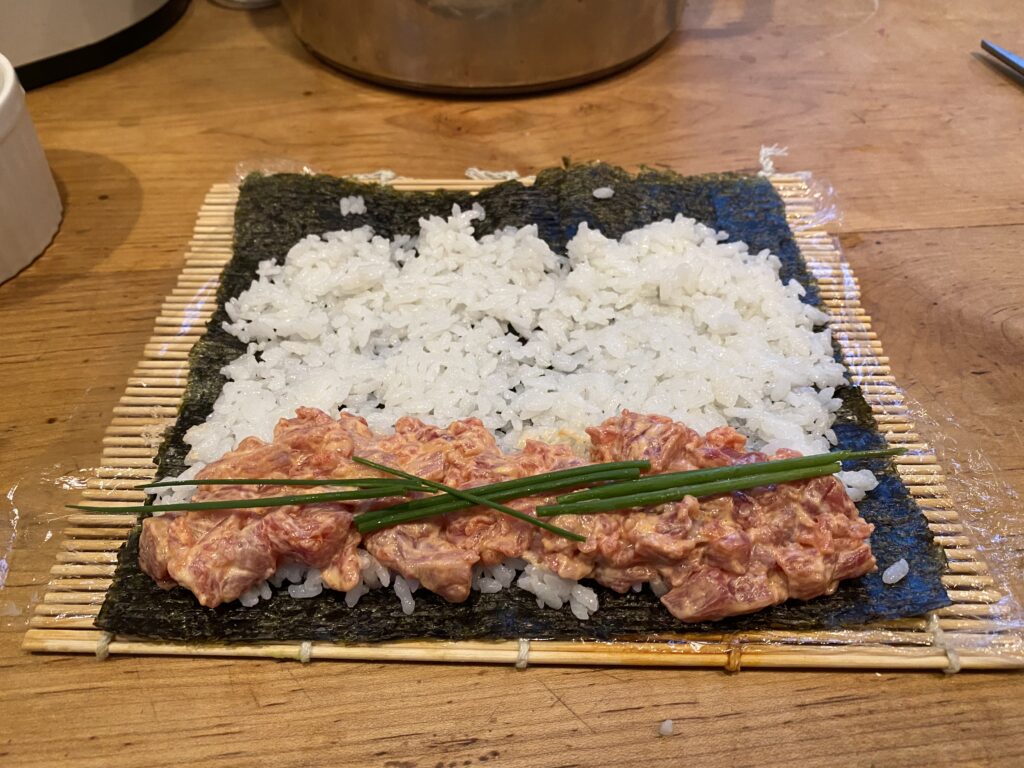
Let’s just call out the elephant in the room: maki is more conducive to homemade sushi. It just is. It’s less effort for more food and the ingredients, western sushi staples like imitation crab, avocado and spicy mayo, are more cost-effective and readily available. There are solid instructional rolling videos on YouTube, but there’s a couple of key points I regretted not having in my back-pocket when I first used a rolling mat:
First, you’re not an all-you-can-eat restaurant trying to stuff your customers so full of rice that they pass out before ordering a second round. Take it easy, spread the rice evenly, and leave the borders uncovered so that the maki doesn’t explode.
Second, roast and toast your Nori (laver seaweed). When you’re not using it, keep it stored airtight. Both approaches will keep your seaweed from getting too soft. We did ours on a metal grate on top of a stove, but any heat source besides a microwave should be better than nothing.
Third, once you finish rolling the Maki, push down heavy on both sides of the log and cut off any excess with the knife.
None of this is going to turn you into Masa but it will make your efforts to do so 80% easier.
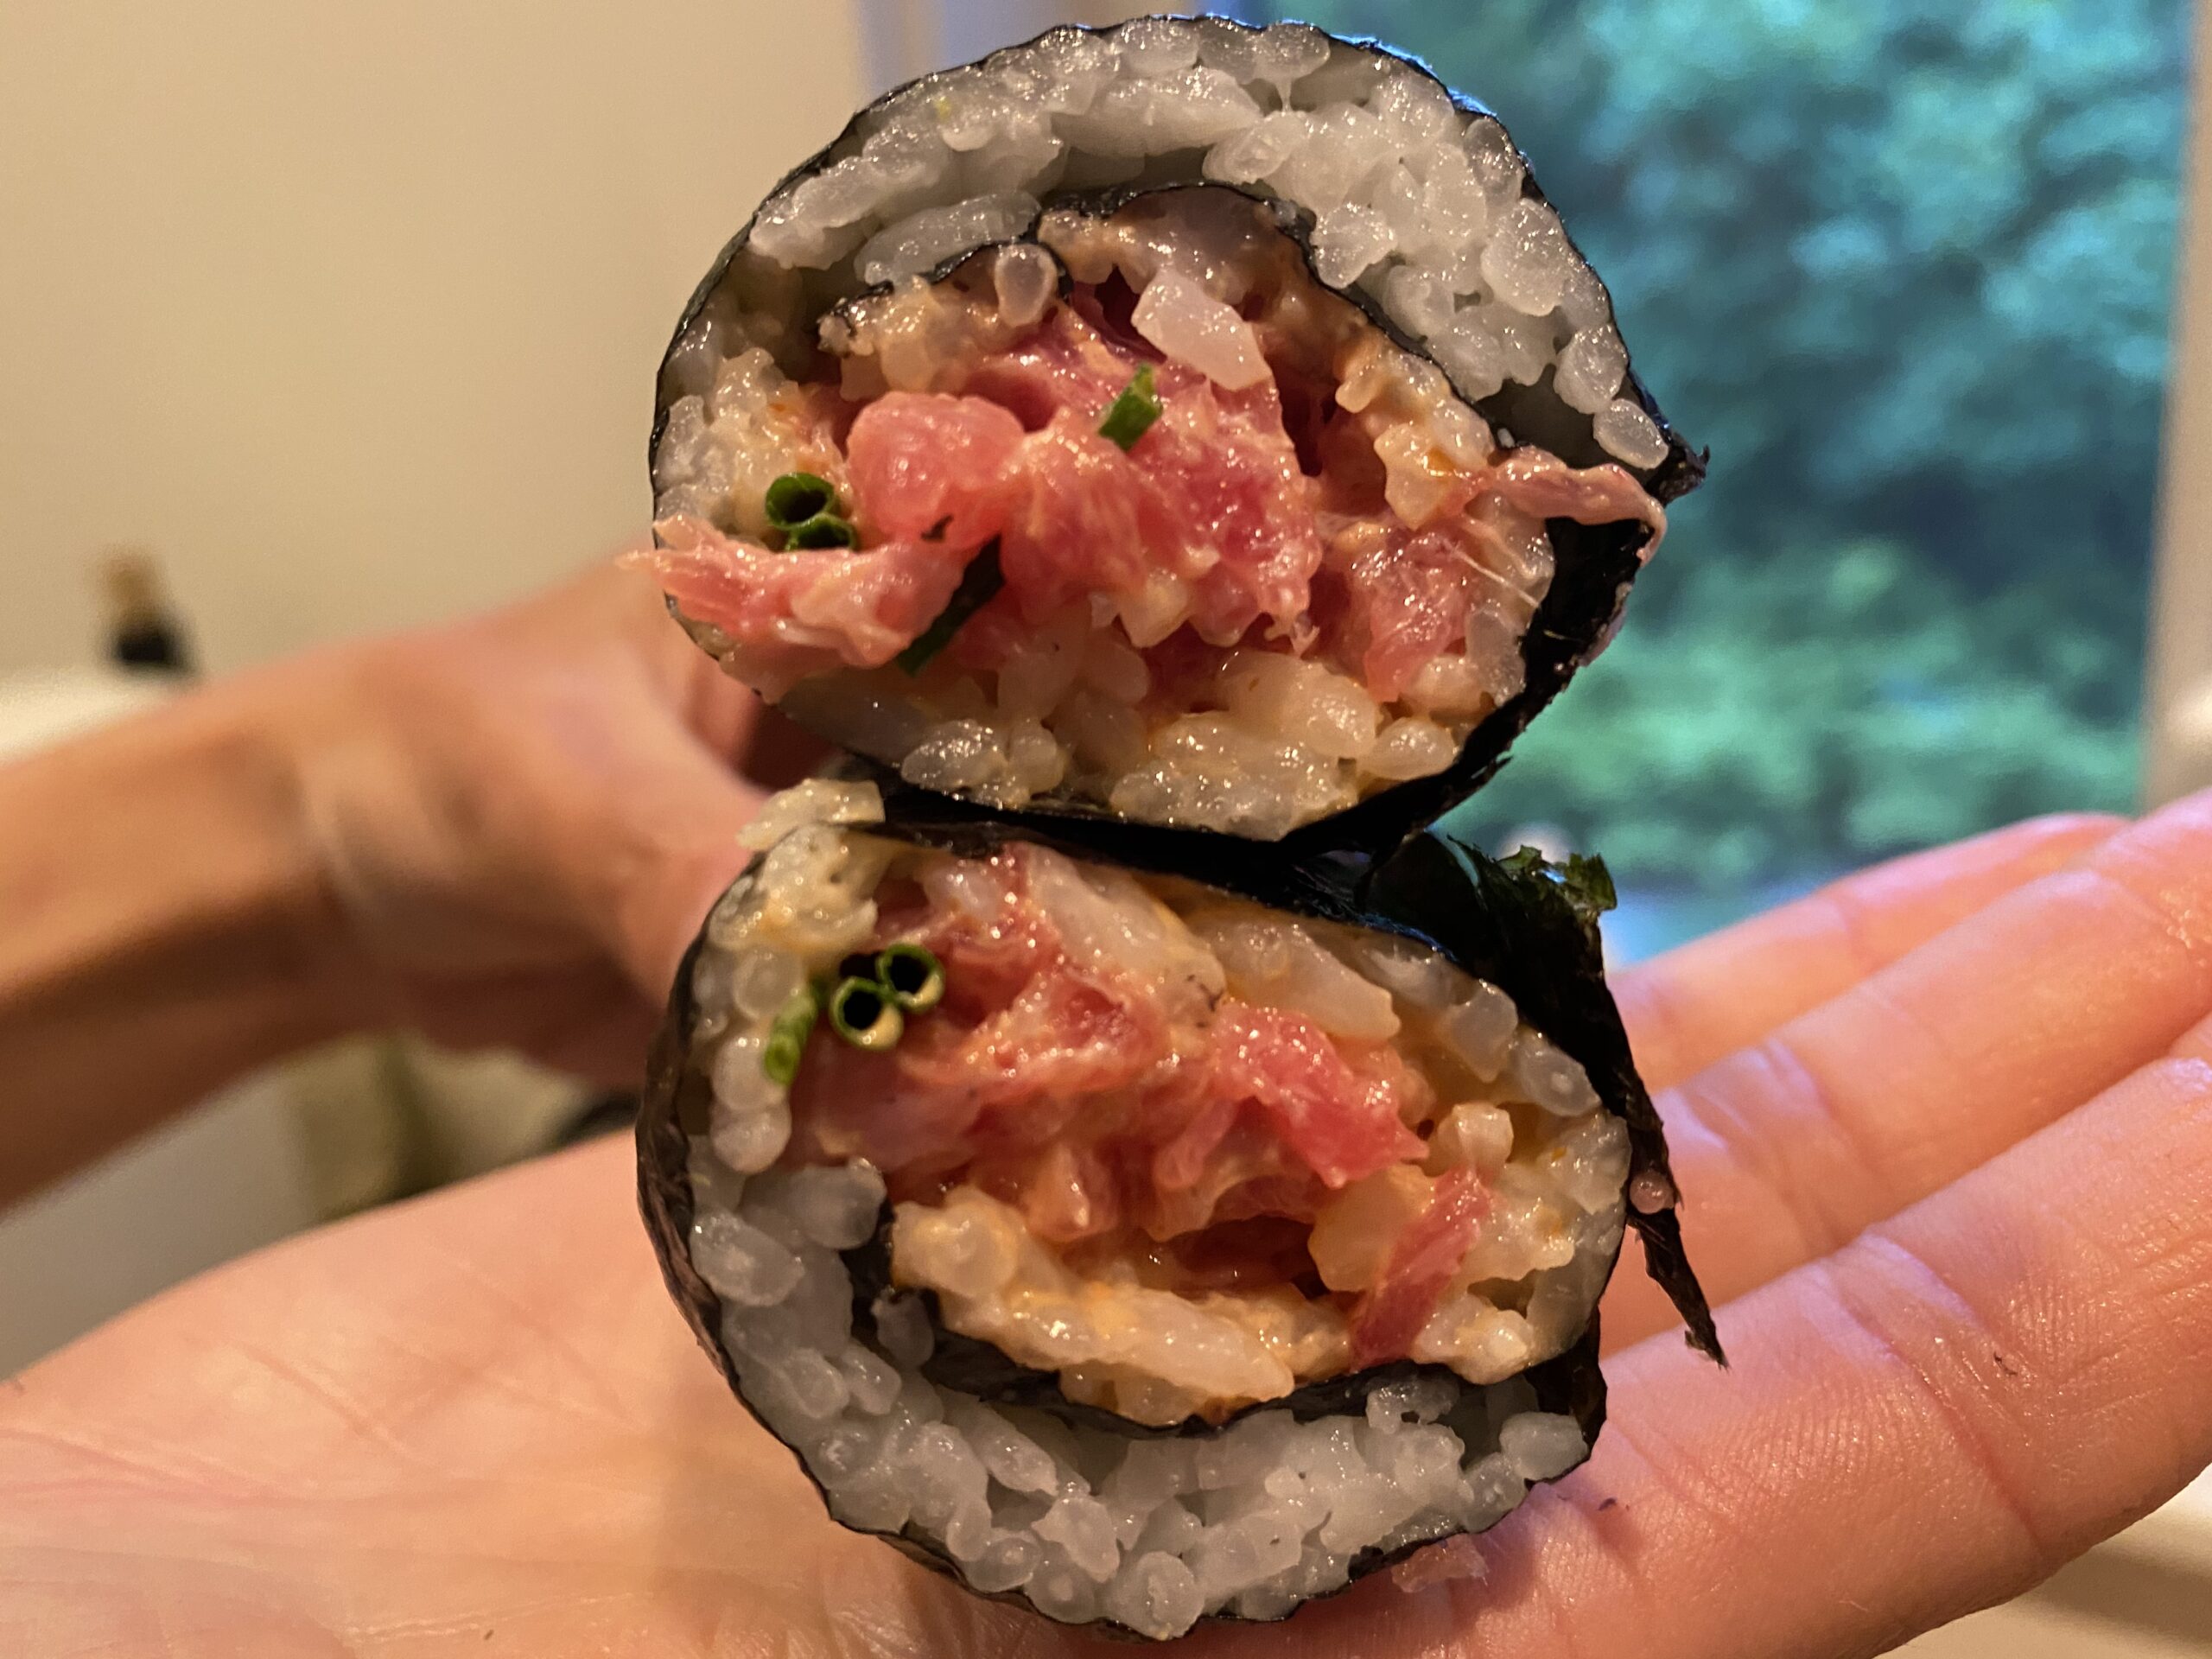
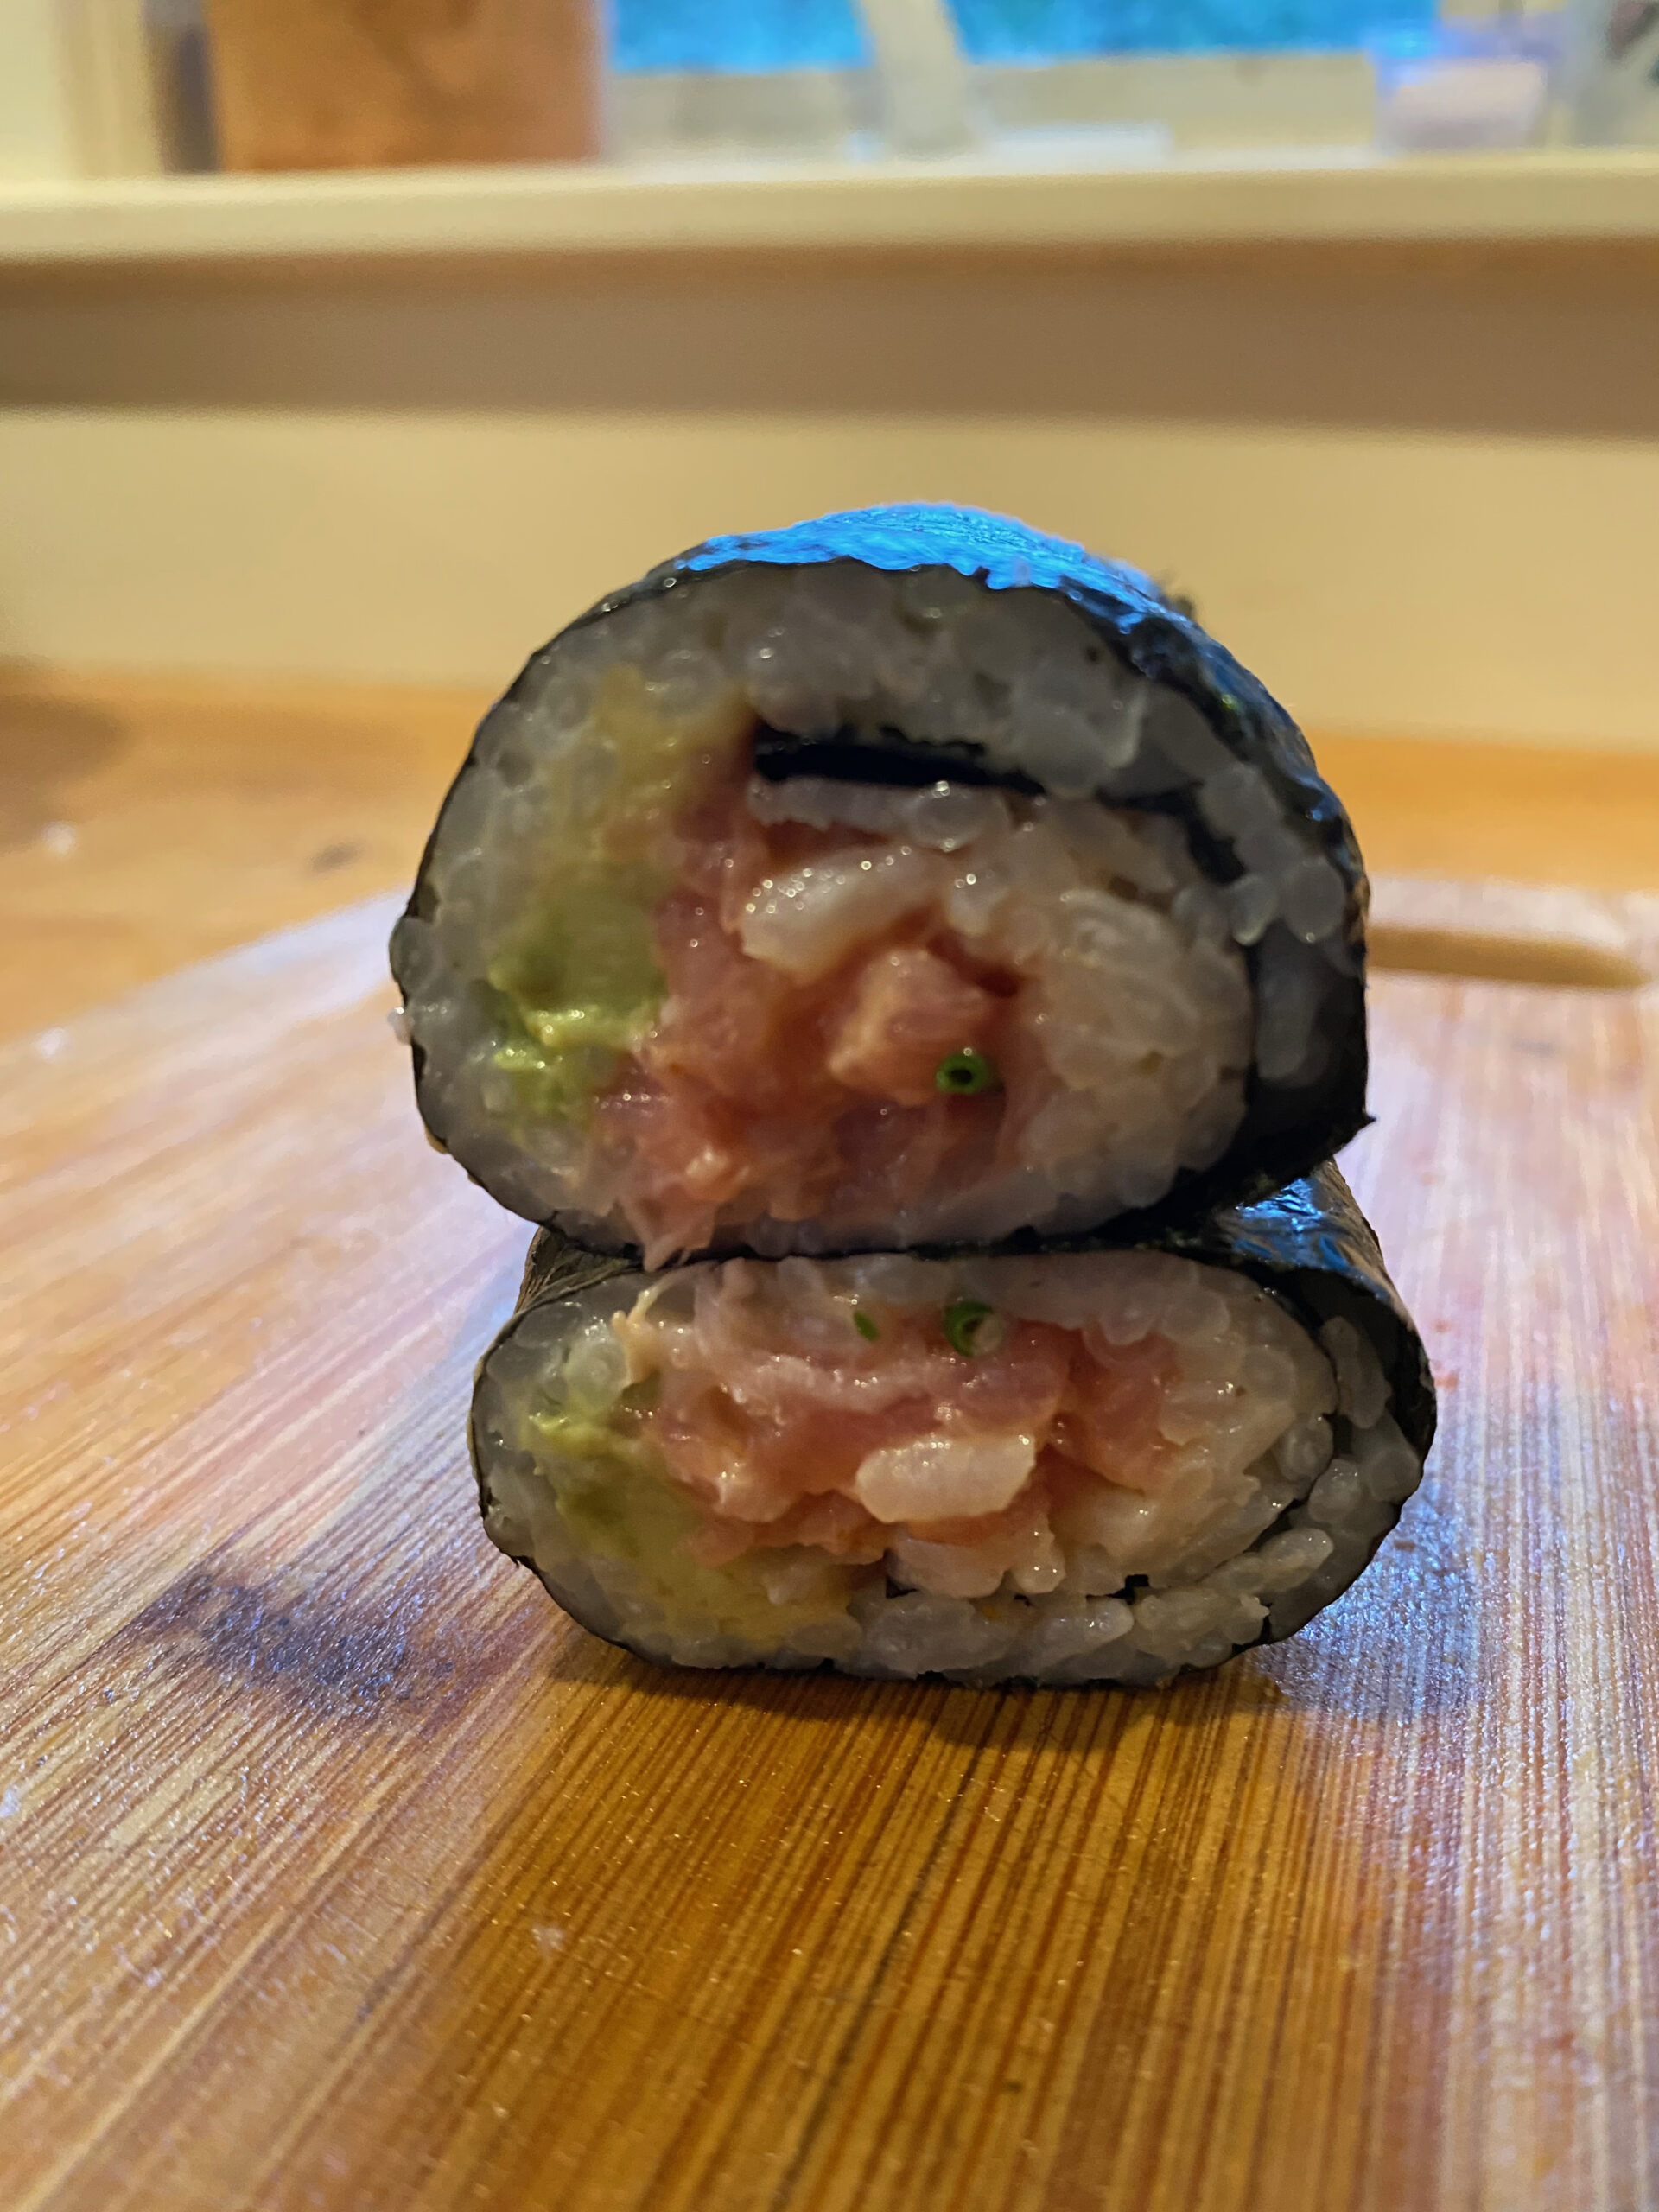
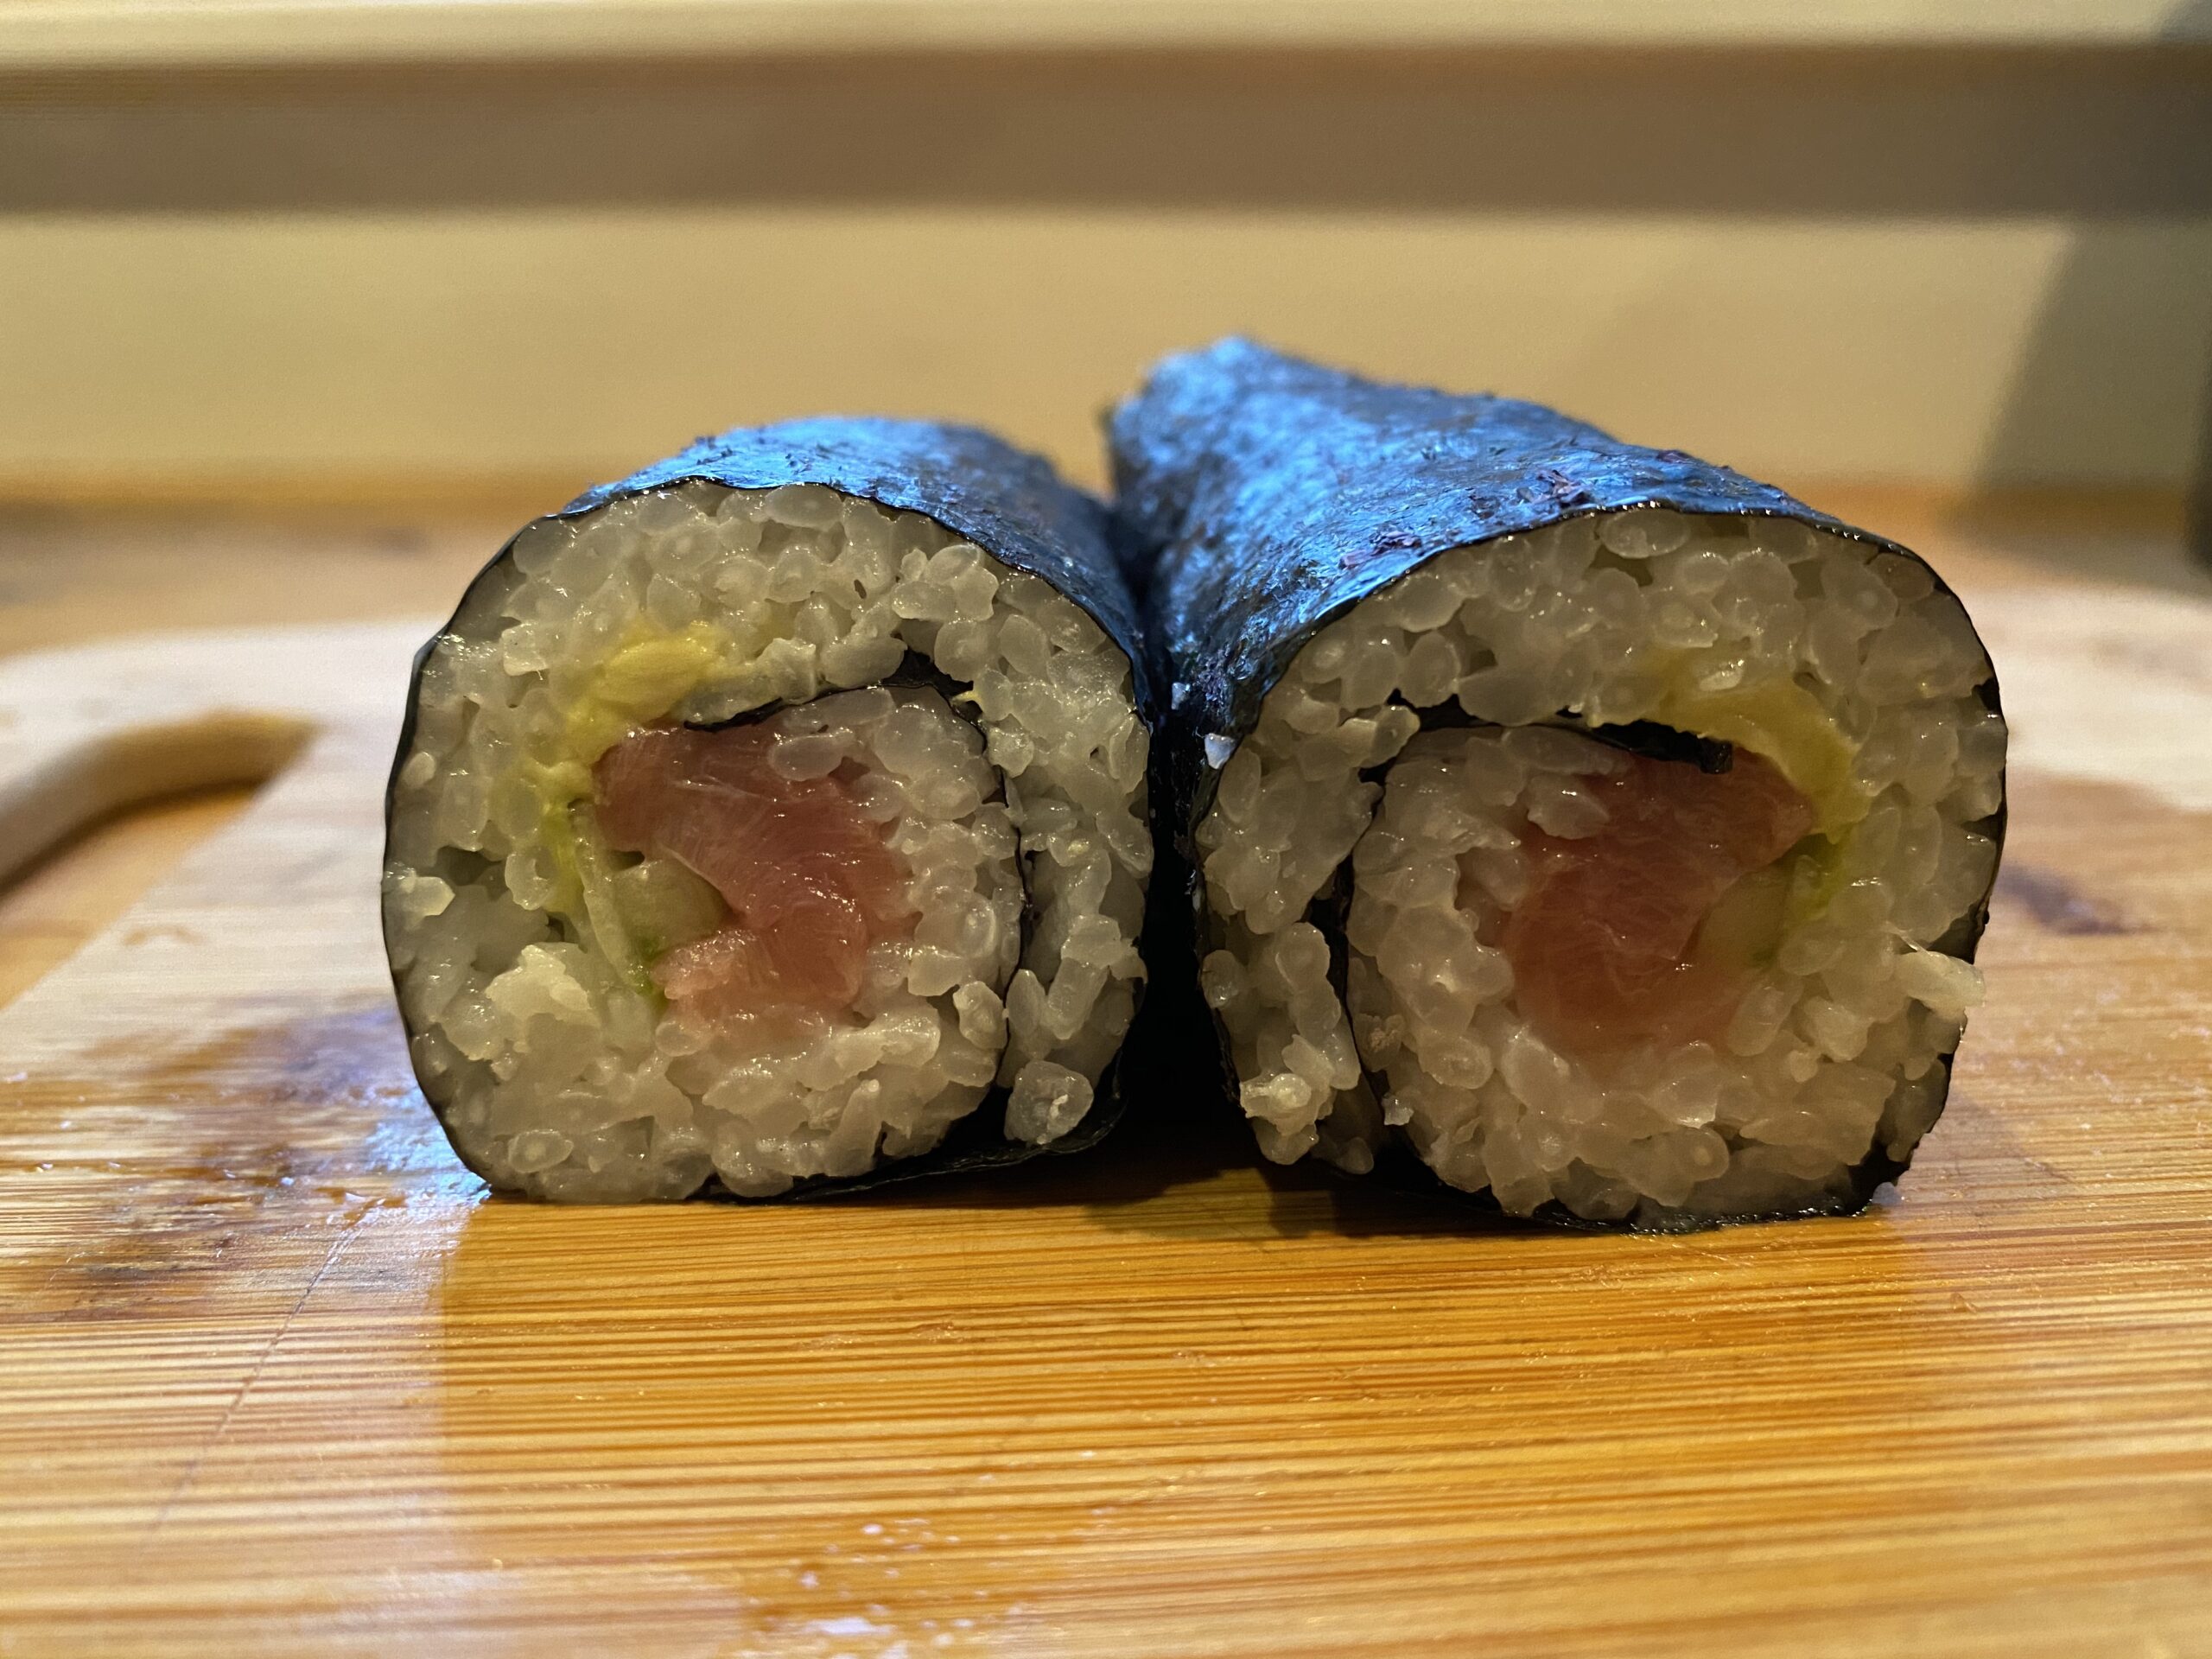
No judgments - chopped Hono Niku (Tuna Cheek) and garden chives
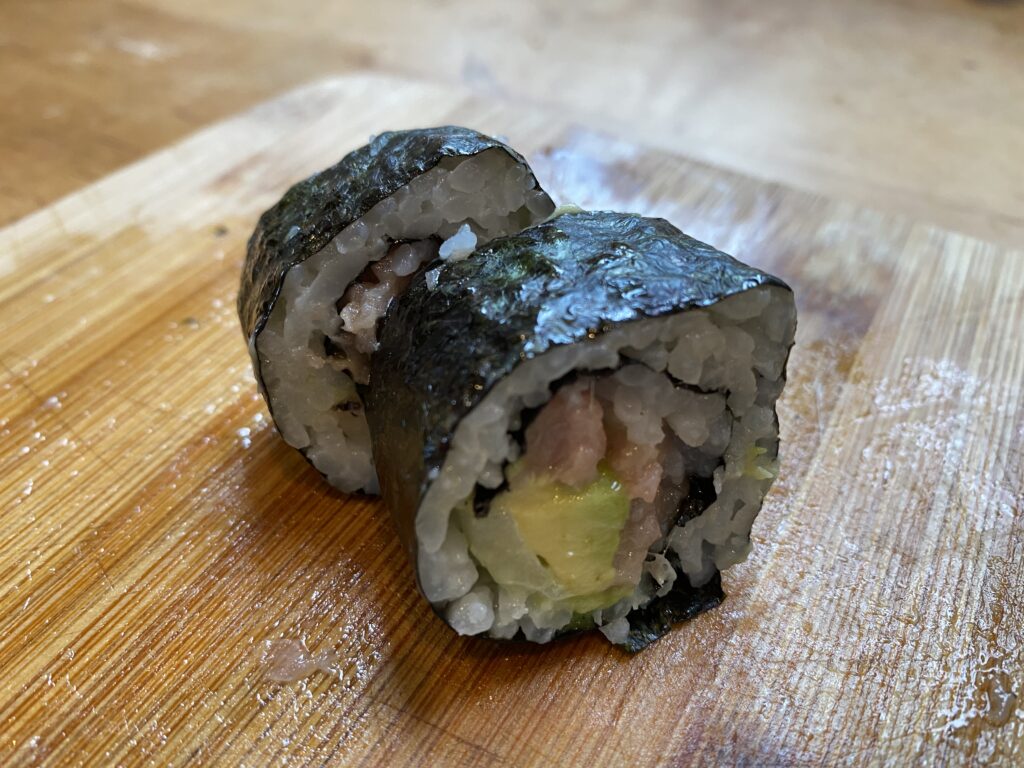
No judgments p2 - O-toro and avocado makizushi
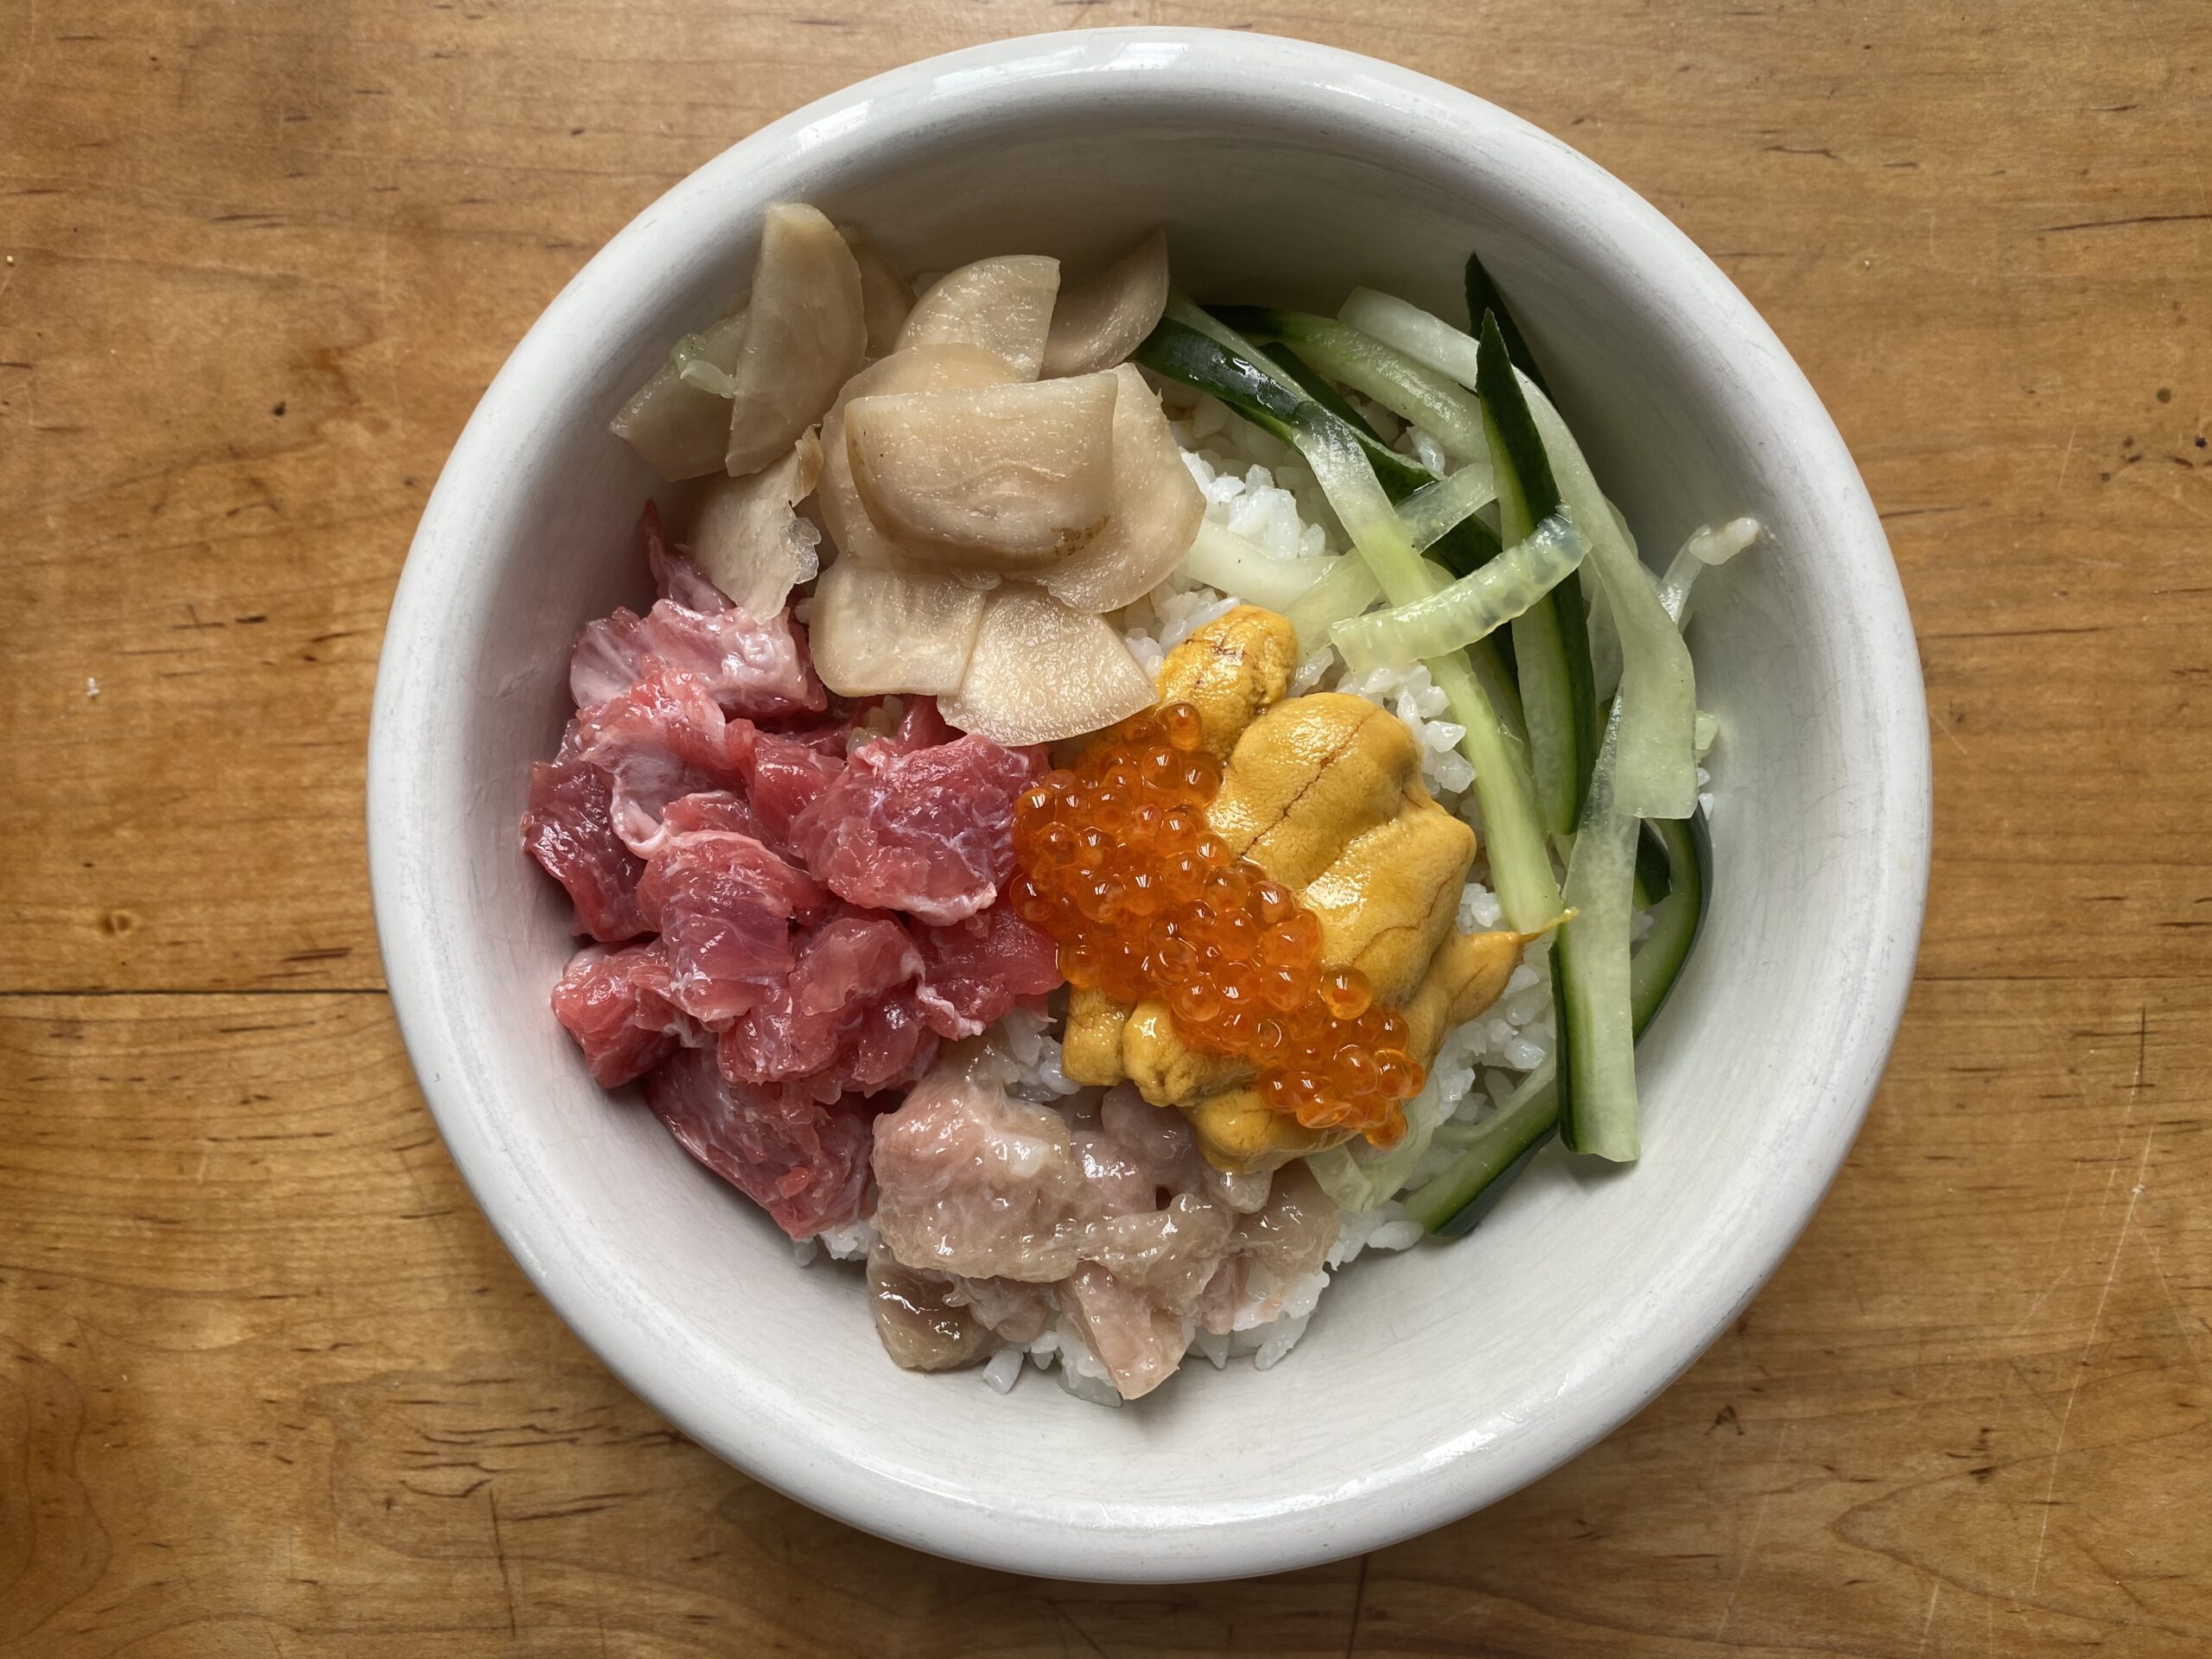
My favourite part of this experience? The Chirashizushi, or Chirashi for short. If you’re unfamilar, Chirashi is a symphony of seafood, vegetables, egg and rice, easy on the eye and a delight for the tongue. It’s a great ending for your homemade sushi journey because it’s a resting place for your ingredients when you have leftovers/have hand cramps. Ours – below – had Uni, Hono Niku, O-toro, Trout Roe, Turnip, cucumber and rice. Literally turned into the kid from Matilda when he saw that chocolate cake.
Chirashi
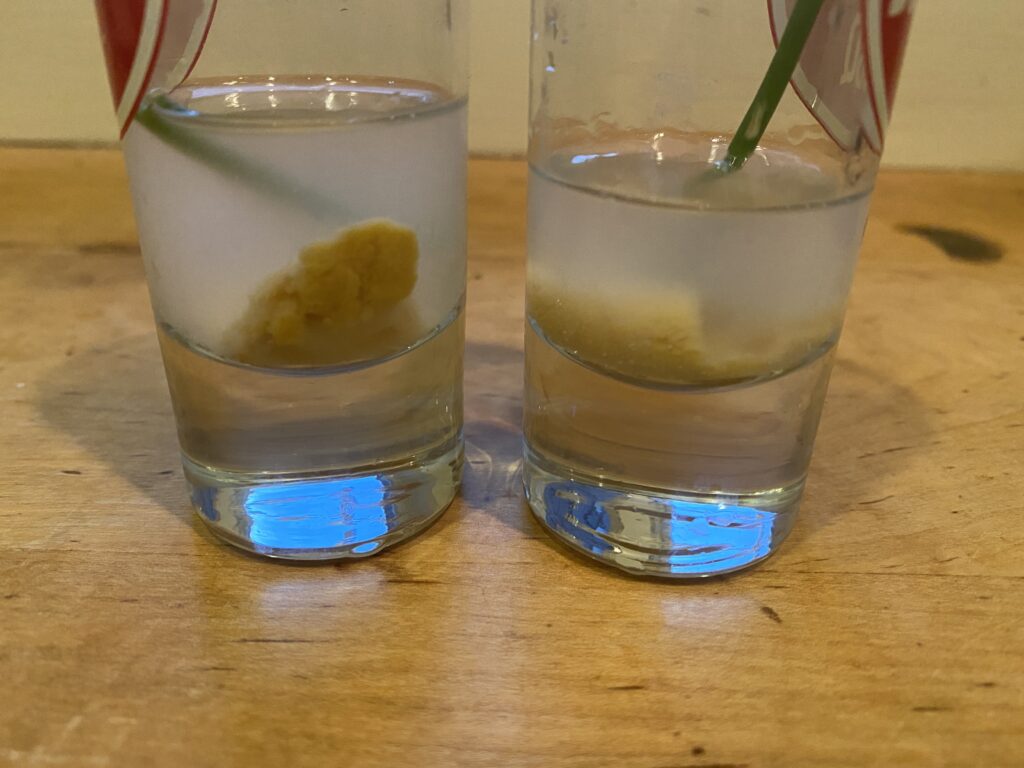
Naturally when you spend 7 hours cooking, forming, eating, photographing, etc, all you want to do is drink (or maybe that’s just me). If that’s you also, may I recommend the drink below: 2 parts Sake, one part Gin, one part Chive, one part Uni. Multiply to taste. If you like it also, do me a favour and spread the gospel.
Join the SushiShinbun
Our newsletter is completely free, and subscribers get first access to the latest sushi news and Neopets non-sequiturs.


